The Archer, you say. You’ve barely managed to make more than ten things since you started sewing. Why would you pick the Archer Buttonup?
It’s an intermediate pattern, and a few months ago I would have quailed at the thought. But I rose above the doubt and the difficulty. And despite some pretty major flaws I’m actually quite pleased with the results (caveat – still no buttons!).
To be fair, out of the handful of things I’ve made in the last year (eight months-ish), three of them have been shirt dresses and one was an Aster shirt. I took the Sew over it Alex Shirt evening class in early 2017, and just last month I finished up a Sew Over it Penny Dress in cotton lawn. Both of these will have their own blogs soon. But I can safely say I know my way around a button placket.
Expanding my skillset
That said, I was still approaching this make as an over-confident beginner. I learned a LOT of new skills in the creation of my Archer. I learned proper topstitching; how to grade seams; how to secure the loose corners of a pocket; a new way to make a button placket, and how to fit a collar stand. I also learned that unpicking stitches from my gauzy textured fabric is a small nightmare.
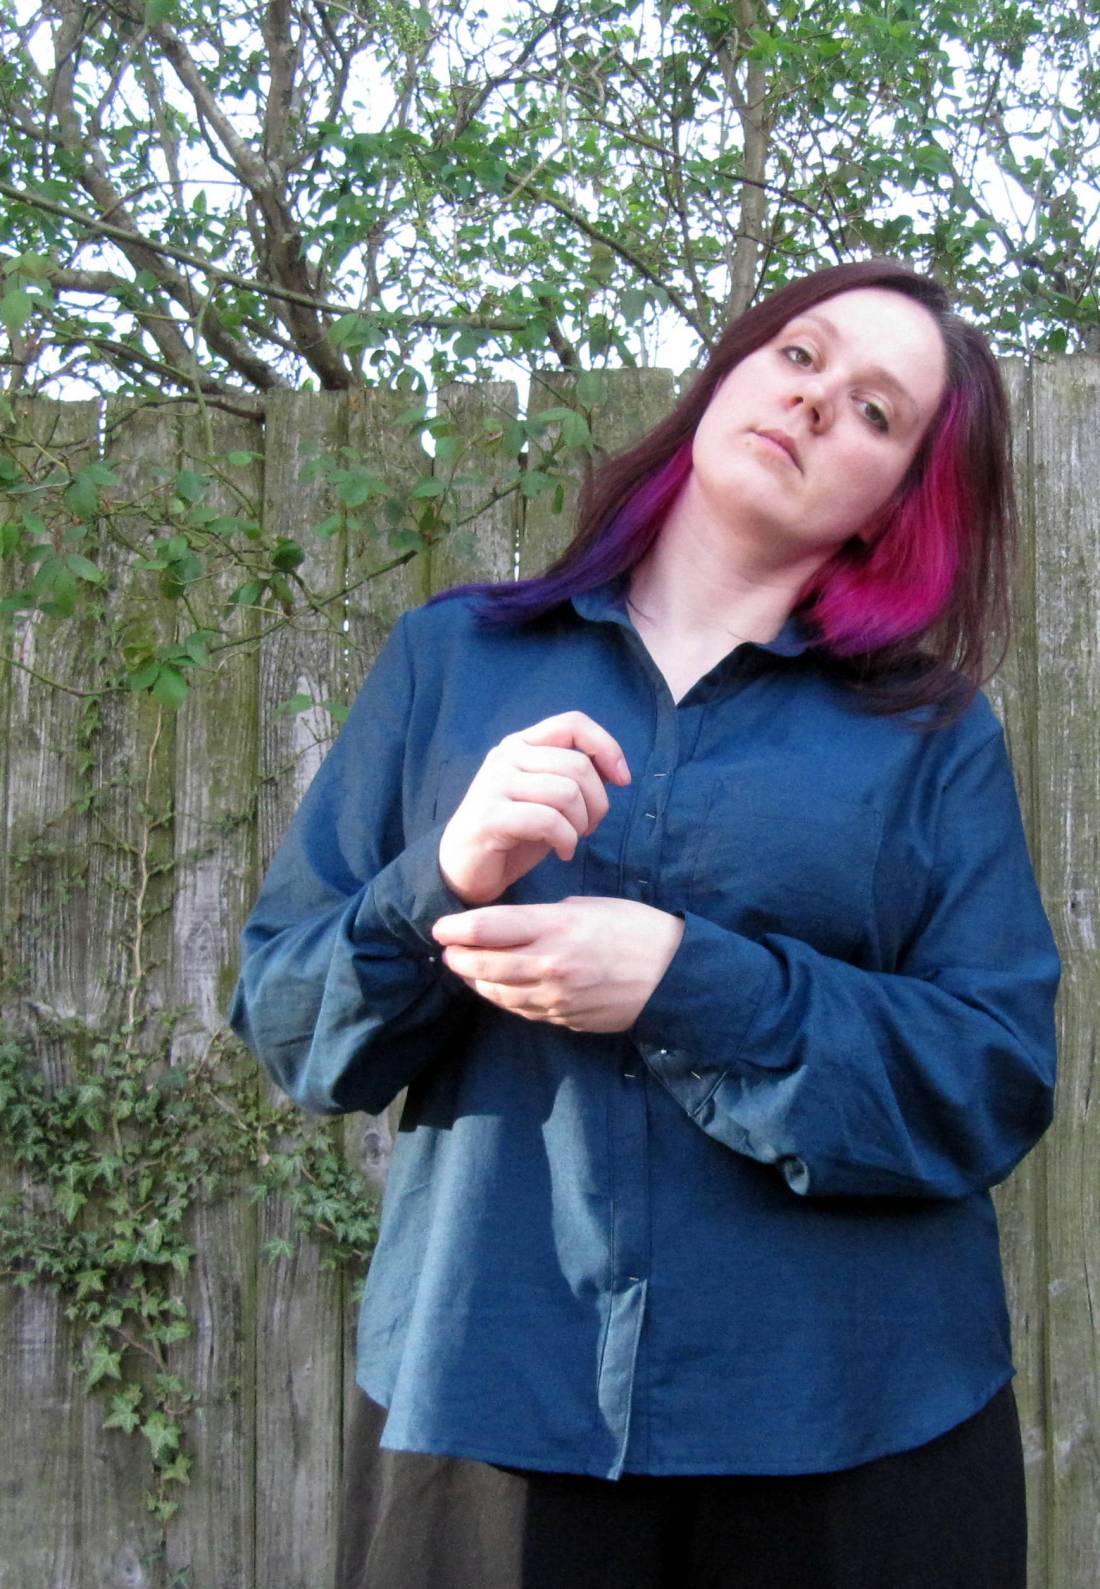
The fabric is a bit of a mystery… I bought it in Classic Textiles on Goldhawk Road, and the proprieter told me it was “cotton”. I have my doubts, but I love all things teal, so I love this, and apart from a difficulty in finding matching buttons I love it!
I’m sorry to say I got stumped early on in the make – I got confused by the way the button placket was attached (steps 1-3!). But fortunately Grainline Studio has a handy sew-along which often got me out of a tight spot – more often from the pictures than the description.

My two main sticking points were the sleeve plackets (it’s basically attached the same way as bias tape, but it sounded so much more complicated until I saw the extra pictures) and attaching the collar stand. The collar stand videos linked in the sew-along were very helpful indeed.
I learned the burrito yoke method at my Sew Over It Alex class, but there’s also a great tutorial for that.
Overall, I came out the other side of this pattern a more confident sewer. I’m mostly happy with the finish I achieved – the errors that I didn’t go back and correct are minimal, I would be more than happy to wear this to work. But only after I’ve unpicked the pockets (more on those below). I hope it won’t leave a ghost stitch line in the fabric.
The pattern
I’m a tracer. It is my long held goal to one day lose weight, and I don’t want to have cut away all those size 16, 14, 12 and size 7 lines that promise a slimmer, svelter me.


I was very impressed with Grainline’s pattern tissues. The markings are very clear, the lines are nice and bold. There were some nice details on there, such as arrows illustrating the direction of the pleats and seam allowances. Very clear cutting directions too – apart from referring to the main fabric as “self”, which was a bit confusing until I realised it wasn’t interfacing, and therefore had to be fabric.
One big gripe – this pattern is drafted for a smaller frame than mine. They either did not test for bigger bodies, they didn’t listen to the feedback, or I am an unusual specimen of the human female form.
There were two massive tells for this oversight. First, cuff sizing; and second, pocket placement.
A grading gripe
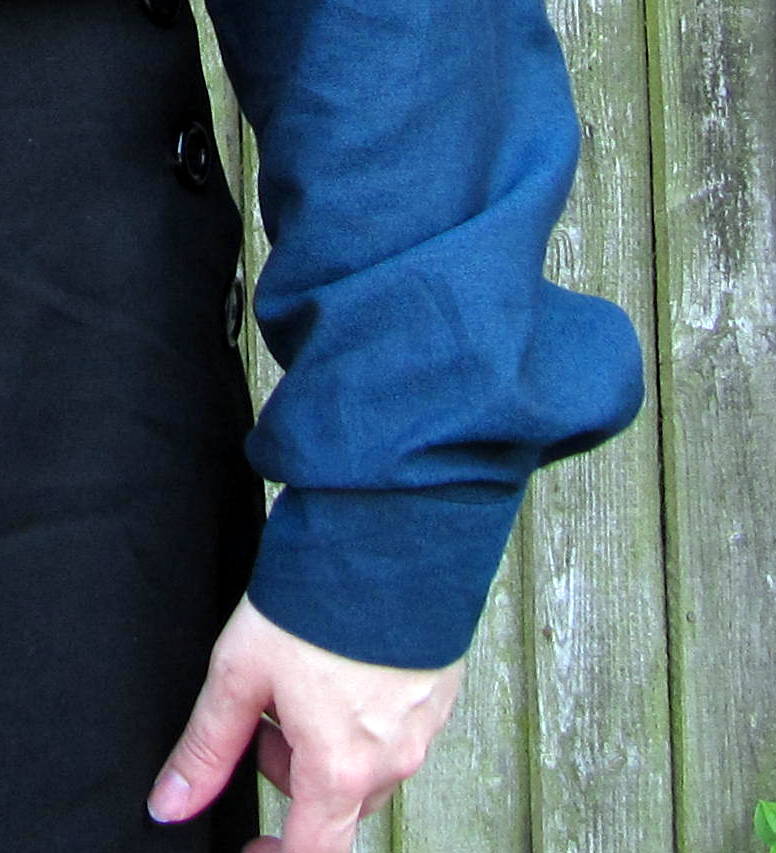
The cuffs. Oh, the cuffs. You could drive a double decker bus through my cuffs. I’m not sure what Grainline were thinking when they drafted a four-inch difference between the size zero cuff and the size 18… Tell me, how many humans do you know whose wrist is as big as their bicep?
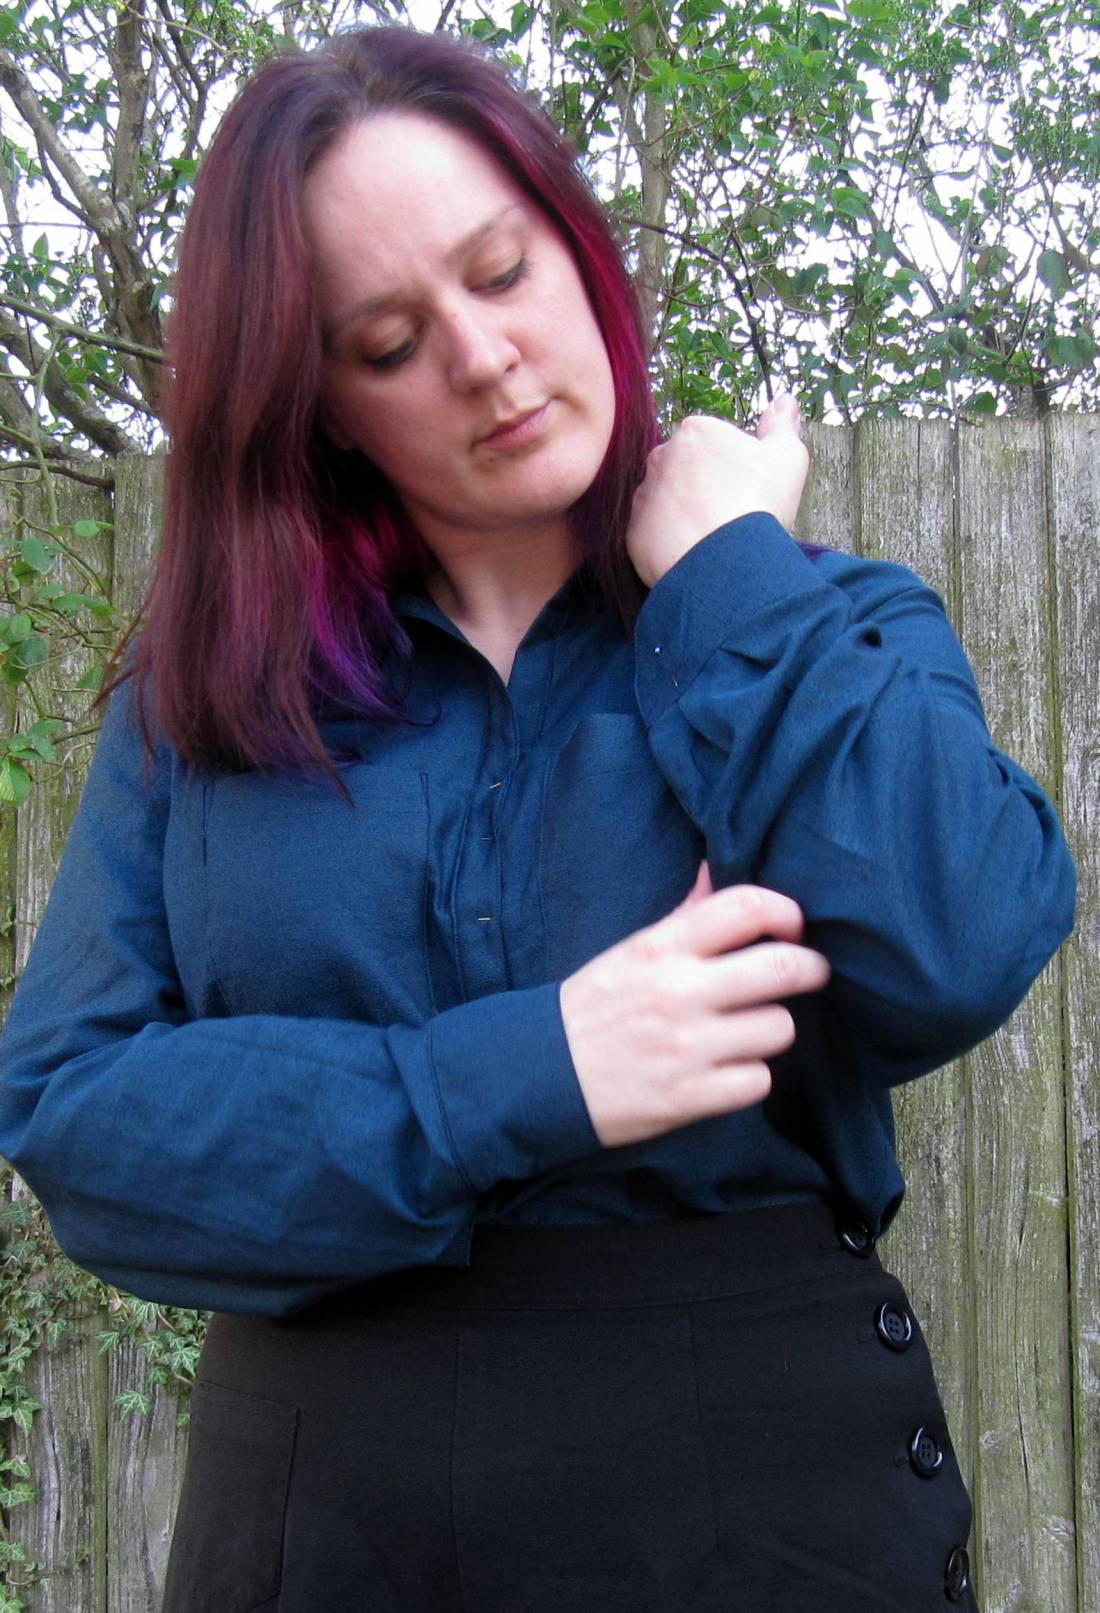
The cuff is the very last step before hemming. I could see the light at the end of the tunnel/project, and I didn’t check fit. I had topstitched by the time I thought to try it on, and I now have a lovely five inches going spare at my wrist.
If only I’d made a sleeve in my toile. Or used my common sense when putting the sleeve together. The error is certainly not mentioned in the sewalong. I’m contemplating creating a cufflink-style fastening to compensate.
Gripe 2 was the pockets. Now, anyone with a big bust will know that pockets should be treated with the utmost respect and caution. They can make or break an outfit. So what possessed me to blindly place them on the pattern lines is anyone’s guess. It’s one of the first steps in the instructions. And I knew better. I wondered if I should leave it to the end. And I didn’t.
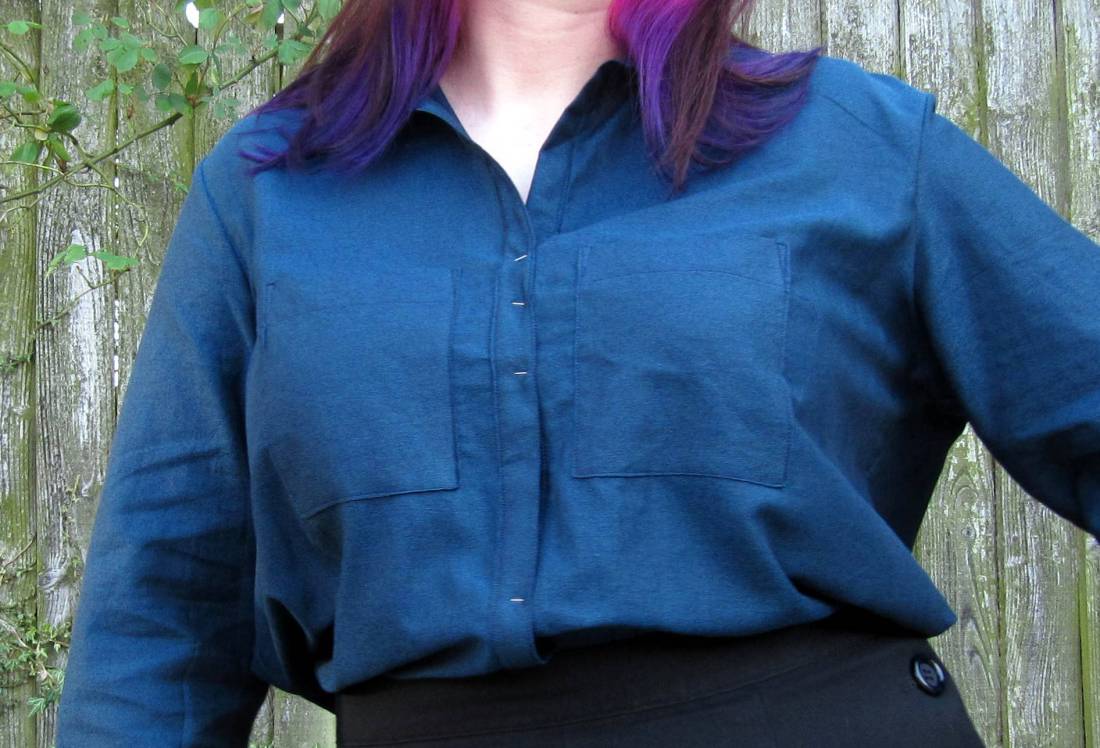
To be clear: one inch between the placket and the pocket is not enough. It makes me look wider than I need to, and my boobs look like they are watching you. I really don’t understand why they didn’t grade the pocket placement – especially when the cuff is so unnecessarily graded.
But that, as they say, is life. I’m still torn on whether to remove one or both of the pockets, it’s a very loose weave fabric so probably do-able, but I can still see the stitch lines in my un-picked scraps – so it’s a risk.
Overall, I am quite happy with the shape of this shirt, and I’ll make it again. As long as I consider this a wearable toile I think I’ve done OK.


One thought on “The Grainline Studio Archer shirt – A steep learning curve”